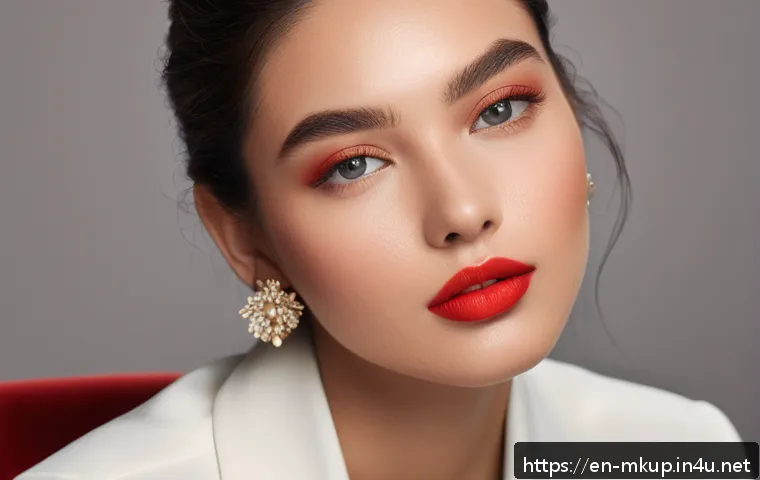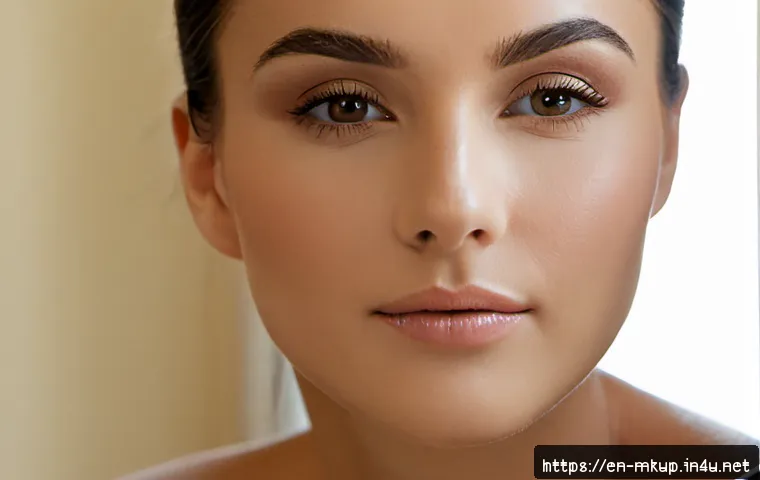
Learn how to choose the right contour shade, placement, and formula for natural face shading. Compare cream, powder, and stick products, avoid common mistakes, and shop based on skin type and makeup routine.
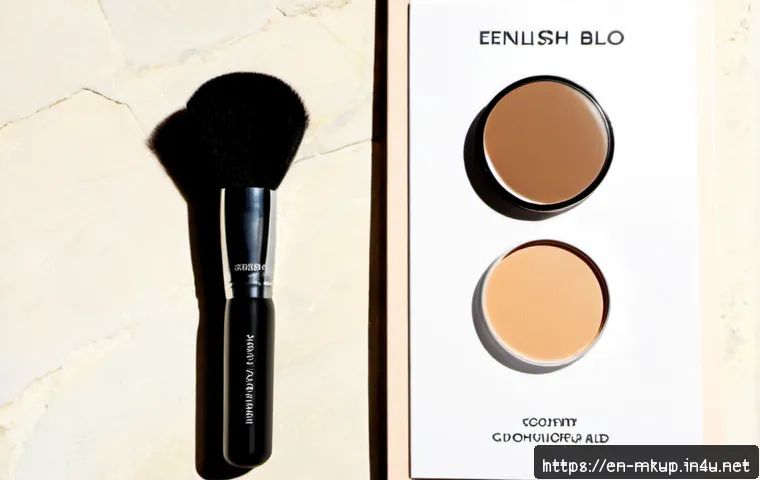
Natural face shading looks best with a contour shade that is cooler or more neutral than bronzer, placed lightly where natural shadows would fall. For most beginners, a soft powder or easy-to-blend cream formula is the simplest starting point.
The right choice depends on your skin type, preferred finish, existing makeup brushes or sponges, and how portable you need the product to be. Instead of chasing a universally “best” contour, compare undertone, blendability, and the tools required.
A subtle application is usually more wearable in daylight, indoor lighting, photos, and video.
At a Glance
- Choose undertone first: a cool or neutral contour shade usually creates a more believable shadow than a warm bronzer.
- Place product high and lightly: blend upward and outward to avoid a harsh stripe beneath the cheekbone.
- Match the formula to your routine: powder is quick, cream and liquid can look skin-like, and sticks are convenient for targeted placement.
| Formula | Best For | Finish | Helpful Tools | Value Consideration |
|---|---|---|---|---|
| Powder contour | Quick routines, oily or combination skin, beginners using brushes | Soft, buildable, often more diffused | Small fluffy brush or angled face brush | Useful when you already own suitable powder brushes |
| Cream contour | Skin-like makeup and flexible blending | Natural-looking dimension | Dense brush, sponge, or fingertips depending on the product | Worth considering if it layers well with your base makeup |
| Liquid contour | Sheer placement and customizable intensity | Can range from subtle to polished | Sponge or brush for controlled blending | Check whether the applicator suits your routine |
| Contour stick | Portable makeup and precise placement | Usually creamy and direct | Brush, sponge, or fingertips to blend edges | Convenient, but test whether the shade is versatile enough for frequent use |
The Quick Answer: Natural Face Shading Starts With the Right Undertone
Natural-looking contour is less about drawing a new face shape and more about adding soft, controlled shadow. Start with a shade family that reads cool or neutral on your skin rather than distinctly golden, orange, or bronzed. The goal is subtle dimension, not a dramatic line that is visible before the rest of your makeup.
Contour vs. bronzer: what each product is designed to do
Contour is generally used to create the appearance of shadow and dimension. Bronzer is usually warmer and is used to add warmth. You may use one or both, but they are not interchangeable if your goal is realistic face shading. If a product looks strongly warm in the pan or on your skin, it may give a sun-kissed effect rather than a shadow effect.
The easiest placement rule for subtle definition
Use less product than you think you need. On the cheeks, begin slightly higher than the deepest hollow and keep the placement close to the outer face. Blend upward and outward toward the hairline. This helps soften the edge instead of leaving a visible line below the cheekbone.
A beginner-friendly routine in three steps
First, apply a small amount of contour where you want gentle definition. Second, blend the edges before adding more product. Third, step back and check your makeup in a different light if possible. This simple approach makes it easier to judge the shade and intensity before the product becomes difficult to diffuse.
Compare Contour Formulas Before You Buy
The best contour product is often the one that fits your application habits. A beautiful formula is less useful if it requires brushes, sponges, or layering steps you do not enjoy using. Consider your skin type, makeup base, desired finish, and the tools already in your makeup bag.
Powder contour for oily or combination skin and quick blending
Powder contour can be a practical choice for people who prefer a quick brush-based routine. It is often easy to apply gradually, which can make it feel less intimidating for beginners. Use a brush that is not overly large so the product stays focused where you intend to create shadow.
Cream and liquid contour for a skin-like finish
Cream and liquid formulas can create a more seamless, skin-like effect when blended over a compatible base. They may appeal to shoppers who prefer minimal makeup or want a less powdery finish. Work in small amounts, especially around the cheeks and nose, because performance can change based on skin preparation, tools, and how much product is applied.
Contour sticks for portable, targeted application
A contour stick offers direct placement and can be convenient for travel or touch-ups. Its shape makes it easy to place product near the hairline, along the jawline, or on the cheek area. However, direct swiping may deposit more product than expected, so try applying with a light hand or picking up product with a brush first.
Value factors beyond price: shade range, pan size, tools, and versatility
When comparing drugstore and prestige makeup options, look beyond the initial price. Ask whether the shade range includes a believable undertone for you, whether the formula works with your current brushes, and whether you can use it often enough to make it worthwhile. A contour product that doubles as subtle eye definition may offer practical versatility, but only if the shade works naturally on your complexion.
How to Apply Face Shading Without Looking Muddy or Overdone
Most contour problems come from too much product, an overly warm or dark shade, or blending in the wrong direction. Build slowly and keep your placement close to the areas where a soft shadow would naturally appear. Your lighting matters: a shade can look different in daylight, indoor lighting, flash photography, and video.
Prep the base so the contour blends evenly
Let your base makeup sit evenly before adding contour. A formula that skips or catches may not blend as expected, especially when cream, liquid, and powder products are layered together. Use gentle pressure rather than rubbing aggressively, which can disturb the makeup underneath.
Cheekbone, jawline, forehead, and nose placement basics
For cheeks, concentrate product toward the outer area and blend upward. Along the jawline, use a light touch and soften the edge into the neck area rather than leaving a sharp border. Around the forehead, keep shading near the hairline if you want added dimension. Nose contour is optional; use a very small amount and blend carefully because this area can become obvious quickly.
Blend direction, pressure, and product quantity
Think of contour as a haze of shadow, not a drawn stripe. Use light pressure, blend outward, and add only after the first layer has been softened. A sponge can diffuse cream or liquid formulas, while a brush can offer more targeted control. The best tool is the one that gives you a smooth edge without moving your base makeup.
Common Contour Mistakes and How to Fix Them
A few small adjustments can make face shading look more natural without changing your entire makeup routine. Check the shade, placement, and lighting before assuming you need a different technique.

Choosing a shade that is too warm, dark, or gray
If contour looks orange, it may be acting more like bronzer. If it looks too dark, use less product or consider a lighter option. If it appears overly gray, it may not harmonize with your undertone or may simply be too concentrated. There is no single correct shade for every complexion, so seeing a swatch in more than one lighting condition can help.
Applying contour too low on the cheek
Product placed too low can make the cheek area look heavy rather than lifted. Keep the application higher and blend upward toward the temples. This is usually easier to control than trying to correct a dark line after it has been blended downward.
Using too much product before checking the result in natural light
Indoor mirrors can be misleading. Apply a small amount, blend it, then check the overall balance in natural light when practical. This is especially useful before photos, events, or on-camera makeup, where contour may appear differently than it does in a bathroom mirror.
Layering cream and powder products without disturbing the base makeup
Layering can add definition, but it requires a light hand. Apply and blend cream or liquid products gently before setting with powder. If you use powder contour over a cream base, press or softly sweep rather than dragging the brush across the skin.
Tailor the Technique to Your Makeup Style and Skin Type
Your ideal contour routine should fit how you actually wear makeup. A soft everyday look may need only one light placement, while full-glam makeup can involve more controlled layering. Skin type and texture can also influence how a formula appears throughout the day.
Minimal everyday makeup: soft powder or sheer cream placement
For a low-maintenance routine, choose one area to define, such as the upper cheek area or the perimeter of the face. A soft powder contour or sheer cream application can provide dimension without requiring a detailed sculpting routine. Keep the edges diffused and the color subtle.
Full-glam or photo makeup: controlled layering and setting
For a more polished makeup look, layering cream and powder contour may give added depth. The key is control: build in thin layers, blend between steps, and assess the result under the lighting where you expect to be seen. More product does not automatically create a better result.
Dry, oily, and textured skin considerations
Dry skin may prefer a cream or liquid formula for a more skin-like finish, while oily or combination skin may enjoy the speed and feel of powder contour. Textured areas may benefit from minimal product and careful blending. Individual reactions and wear can vary, so ingredient suitability and skin sensitivity should be checked before trying a new formula.
Selection Criteria and Comparison Summary
Choose by undertone first, then formula and finish. Compare whether the contour shade looks cool or neutral enough for believable dimension, whether it blends with your preferred tool, and whether the finish suits your base makeup. A lower-cost option may be enough when it offers a usable shade and works with brushes or sponges you already own. A premium formula may provide practical value if its texture, packaging, or blendability genuinely improves your daily routine. Before selecting, compare shade range, formula, tool needs, portability, likely frequency of use, and retailer return policies. Check the official product page or retailer listing for current shade details, ingredients, availability, and purchasing conditions.
Final Thoughts
Face shading does not need to be complicated to look polished. A suitable undertone, small amount of product, and upward blending direction are the essentials. Start with the formula that feels easiest for your routine, then adjust placement as you learn what looks balanced on your own features. Natural contour is usually the result of restraint, not more product.
Useful Things to Know
Lighting changes makeup. Check contour in more than one setting when possible.
Tools affect the finish. The same product can look different with a dense brush, fluffy brush, sponge, or fingertips.
Bronzer and contour can coexist. Use contour for shadow and bronzer for warmth when that suits your makeup style.
Build slowly. It is generally easier to add product than to remove a heavy layer.
Important Notes
No contour shade or formula works universally across every skin tone, face shape, skin type, or makeup preference. Product pricing, shade availability, formulation details, and retailer policies can change by region and seller, so verify current information before purchasing. If you have a history of irritation, breakouts, or ingredient sensitivities, review the ingredient list and consider your individual skin needs before use.
Frequently Asked Questions
Q1. What is the difference between contour and bronzer, and do I need both?
A1. Contour is generally used to create the appearance of shadow and dimension, while bronzer is used to add warmth. You do not need both. Choose contour when you want subtle definition, bronzer when you want a warmer look, or use each lightly for different effects.
Q2. Is cream or powder contour better for beginners?
A2. Either can work, but powder may feel easier for beginners who already use face brushes and want gradual buildup. A blendable cream can also be beginner-friendly when applied in a small amount. Choose the formula that fits your tools and usual makeup routine.
Q3. How do I choose a contour shade without making my makeup look orange or muddy?
A3. Look for a contour shade that appears cooler or more neutral than a warm bronzer. Apply a small amount and view it in different lighting, because shades can look different in daylight, indoors, flash photography, and video. If it looks orange, warm, overly dark, or gray on you, a different undertone or lighter application may work better.